Wednesday, September 4, 2013

Dinner is about to get easier.

I'm done! I'm finally done! Okay, I know that sounds like some dreadful task is over but it's not the "I'm done!" of relief, it's the "I'm done!" of excitement. Seriously. I know I'm a little sad for looking at my new menu planner and being super excited, more so than any other time in the past month almost, but oh well. It's awesome and I'm happy. I won't drag it out. Here's how it went down...

I saw the original post on Pinterest. I thought that it was an exceptional idea from The Thinking Closet. Hers looked so good, but I needed to make it my own because hers didn't match my style. I talked to the hubs and we decided the idea would probably work for us, so I started on a menu list. Nothing spectacular, just jotting down meals we like (and that I'm capable of cooking since I'm a novice) on a piece of paper when we happened to think of something. I've got almost 40 items on it so far and I'm still adding to it. Then we bought this stuff.
Magnetic whiteboard. I liked the sharp corners. Made for very clean lines on the finished product.
Card stock, medium clothespins, larger and smaller wooden letters that were paintable, acrylic paints, and some cheap paintbrushes. We also bought black fabric, patterned fabric, 3/4 inch ribbon, spray adhesive, and index card holders since all of our stuff is packed up for now.


After we bought that stuff, I sat on my bed and painted each one of these different colors. The OP had all the letters nice and uniform and a patterned background. My background is solid so I went with bright letters and decorations. 
I was a little disappointed when I realized that all the bigger letters weren't uniform in size even though they came from the same pack, but in the end they looked fine. Also, my smaller pack only had 1 "T". I had to make the other from different letters. Hopefully you can't tell which.
By the way, I don't know if I've ever mentioned but my hubs is top notch. No doubt. He helps me with anything I need help with. You'll see pics of him often. Here he is helping hot glue the fabric I got to the magnetic whiteboard. I didn't do like the OP and spray adhesive all over. I thought one day I may not want the menu planner anymore (doubtful but you never know) but the calendar would still be useful. 
Look at him go! He said "Don't post pictures of me doing this. I like my man card." haha... oops.
Here it is with its nice tucked in corners and tight sides.
I think we make a great team.
Then we added a border. We went with a solid color since our letters were different colors and we didn't want it to be too busy. We weaved it over and under for a nice pattern. There is hot glue under the 4 ends that are on the bottom of the weave so it can't be seen and around the back where the ribbon attaches to the whiteboard.
After that we hot glued our 4 larger letters to spell out M-E-N-U and one of each of the smaller painted letter to 7 clothespins for our days of the week. Here we are putting magnets on the back of our clothespins after we hot glued the letters to them. I know it looks like I'm not doing a thing but I promise I am! =] We bought a roll of adhesive magnets and cut our magnets to size so that they would fit on the clothespins without being seen.
The magnets cut down really easily. I cut them with a pair of my kids school scissors.
This was the result after all that.
Our next to last step was to put boxes on our board. I bought 3 index card holders and cut off the flaps that close them (I was going to make boxes from cardboard and have a layout if anyone would rather do that but these were easier and perfect size for my board), then cut my fabric to fit. I left about an inch hanging out all the way around the top and enough on the sides so I could fold the sides like I was wrapping a present. I sprayed adhesive all over the outside and stuck my fabric down. Once it was glued down I cut lines down the edges of the extra fabric at the top, sprayed the fabric with adhesive, then pushed it inside so that it covered the boxes completely. Then I stuck magnets to the backs instead of gluing the boxes down so I could take them down since anything open winds up getting dirty inside. At least I can shake them out this way. Or change fabric if I ever want to. I wanted 3 boxes so I could have one just for desserts. I like to make one or two a week. The 2 other than the dessert box are for menu cards. One for new recipes and one for recipes we've used. When the "new" box gets empty we just take the cards out of the "old" box and start our rotation over. As it looks right now we won't be eating the same thing for about 6 weeks unless we just want to. This was my almost finished result.
Then the time came for the menu cards. These were my least favorite part of the whole project. They weren't fun. Just typing. OP had already made a layout in Microsoft Word which I downloaded from her original post so I didn't have to worry with that. I just had to fill in the names of meals and ingredients. I covered them with packing tape and cut to size after I had them all printed.
Maybe one day I can add better quality pictures when i get my good camera unpacked. :/
The names of the recipes are on the front and the ingredients are on the back. Make sure you know how your printer prints and do left to right on the front, but right to left on the back so that they line up correctly.
I will eventually redo all of these cards because I plan on making my own recipe binder. Once I get that made, I'll reprint all the cards with a page number on them so I can easily find it. I don't have recipe books. All mine are from family, friends, or Pinterest. Now all I have to do for my weekly grocery shopping trip is pick out 7 cards, flip them over, and add my list of ingredients to my Weekly Menu Planner List which is printable and fillable in Word. I can choose sides to go with the entrees and get it all written down together. I also made a printable shopping list to go with it because I think the sectioned list works best for me while I'm actually in the store. So my end result turned out like this. Also, my menu cards are color coded. I have a different color for Easy, Red Meat, Chicken, Pork, Seafood, and Soups so far.


I'm 110% happy with it. If anyone decides to make one, send me pictures. I love different ideas. My supply list is below in case anyone was wondering. The whole project cost about $35 but could have been much less. Since we're moving all my craft stuff is packed up so I had to buy everything new. I also bought a more expensive whiteboard because I liked the bigger size and square edges. You can find them for around $9 all the time.

Supplies:
1 - 16X20 magnetic whiteboard
hot glue gun and glue
1 - yard black fabric
1 - 18in X 21in piece of patterned fabric
80 inches of 3/4 in grosgrain ribbon
wooden letters (large and small)
7 - medium clothespins
3 - plastic index card holders
spray adhesive
cardstock in different colors
packing tape

Good luck making your own!

-jFree <3

**UPDATE: I got my menu planner hung up in the new house and I love it.**

This thing is great!


Monday, September 2, 2013

Seeing Noah's Ark.

We got to take a trip to Noah's Ark yesterday. It's an animal sanctuary in Locust Grove, GA. They don't charge an entry fee but the sanctuary is fully funded through donations so we still took some cash with us. We had never been before and it was hot. The heat did not ruin our trip though. There were lots of benches and plenty of shade. We carried sweet tea and the rescue had a Nathan's hotdog and lemonade stand, so of course we had to have some yummy lemonade.

I put together some photos of our trip so that I didn't post so many individuals. I'm not sure how good the resolution is on the computer after putting them in the collage maker. I also didn't think to take the good camera (I ALWAYS forget it) so all the pictures were taken on my iPhone. Luckily it has a pretty decent camera.
The turtle under the tree was twice the size of the other. A peacock, pretty yellow bird
(no idea what it is), and a duck nesting. The duck was well hidden. 
The BLT section. A bear, lion, and tiger all live here together. They were raised together as cubs
and quit eating when they tried to separate them. The tiger stayed in the house.
 The kids loved the animals, especially the ones outside the fences they could get close to.
The rooster wasn't scared at all, and the ducks swimming under our feet were adorable. Bacon also found an inchworm she wanted.
The tigers were lazing around all over the place. We got to see them throw the ducks some snacks, and I was especially intrigued by this mushroom growing out of the tree.
It was a fun trip that didn't cost an arm and a leg and we got some great memories and exercise. We also learned a few things which is always a perk. If you're ever in the area I would recommend going.
-jFree

Friday, August 30, 2013

Hi there.


These are the 2 smallest loves of my life. Blaiklyn (lovingly referred to as Bacon) and Braden.
Okay... now to actually write. I've decided to make a blog because I want to record things for my children. I want them to one day be able to look back and say "My mom was awesome". Now seems like the perfect time to do so since my husband, 2 children, and I will be moving into our new home within the next couple of months. Hopefully sooner. Fingers crossed. Up until recently my outlet has been my children and husband. They're getting older (as all children do) which is bittersweet. They are turning into awesome little people instead of babies. They still take up all my time but they are old enough that they don't need every second of it. Husband has started trying to golf. I say trying because he's not very good. He does enjoy it though, so I say play on.

This is the biggest love of my life, TJ. And me. We're on a carousel.


I personally enjoy doing so many things I can't focus on just one. I plan on moving into a well organized place and trying to keep it that way. Organization is my true talent. I have lots of projects I plan on doing to get the house organized even before we get moved in. We're staying with my MIL for the period between selling our old house and closing on the new one. It's so nice to have that option. We are purchasing the new house from a family member so we're actually able to do things inside the house before we close, like paint. And I feel the need to show you some pictures now even though it still has other peoples stuff in it. Just disregard all that. Picture it empty and clean.
The fireplace. One of my favorite things about it.
I love that the oven is separate from the stove, which is a recessed downdraft stove.

The dining room.

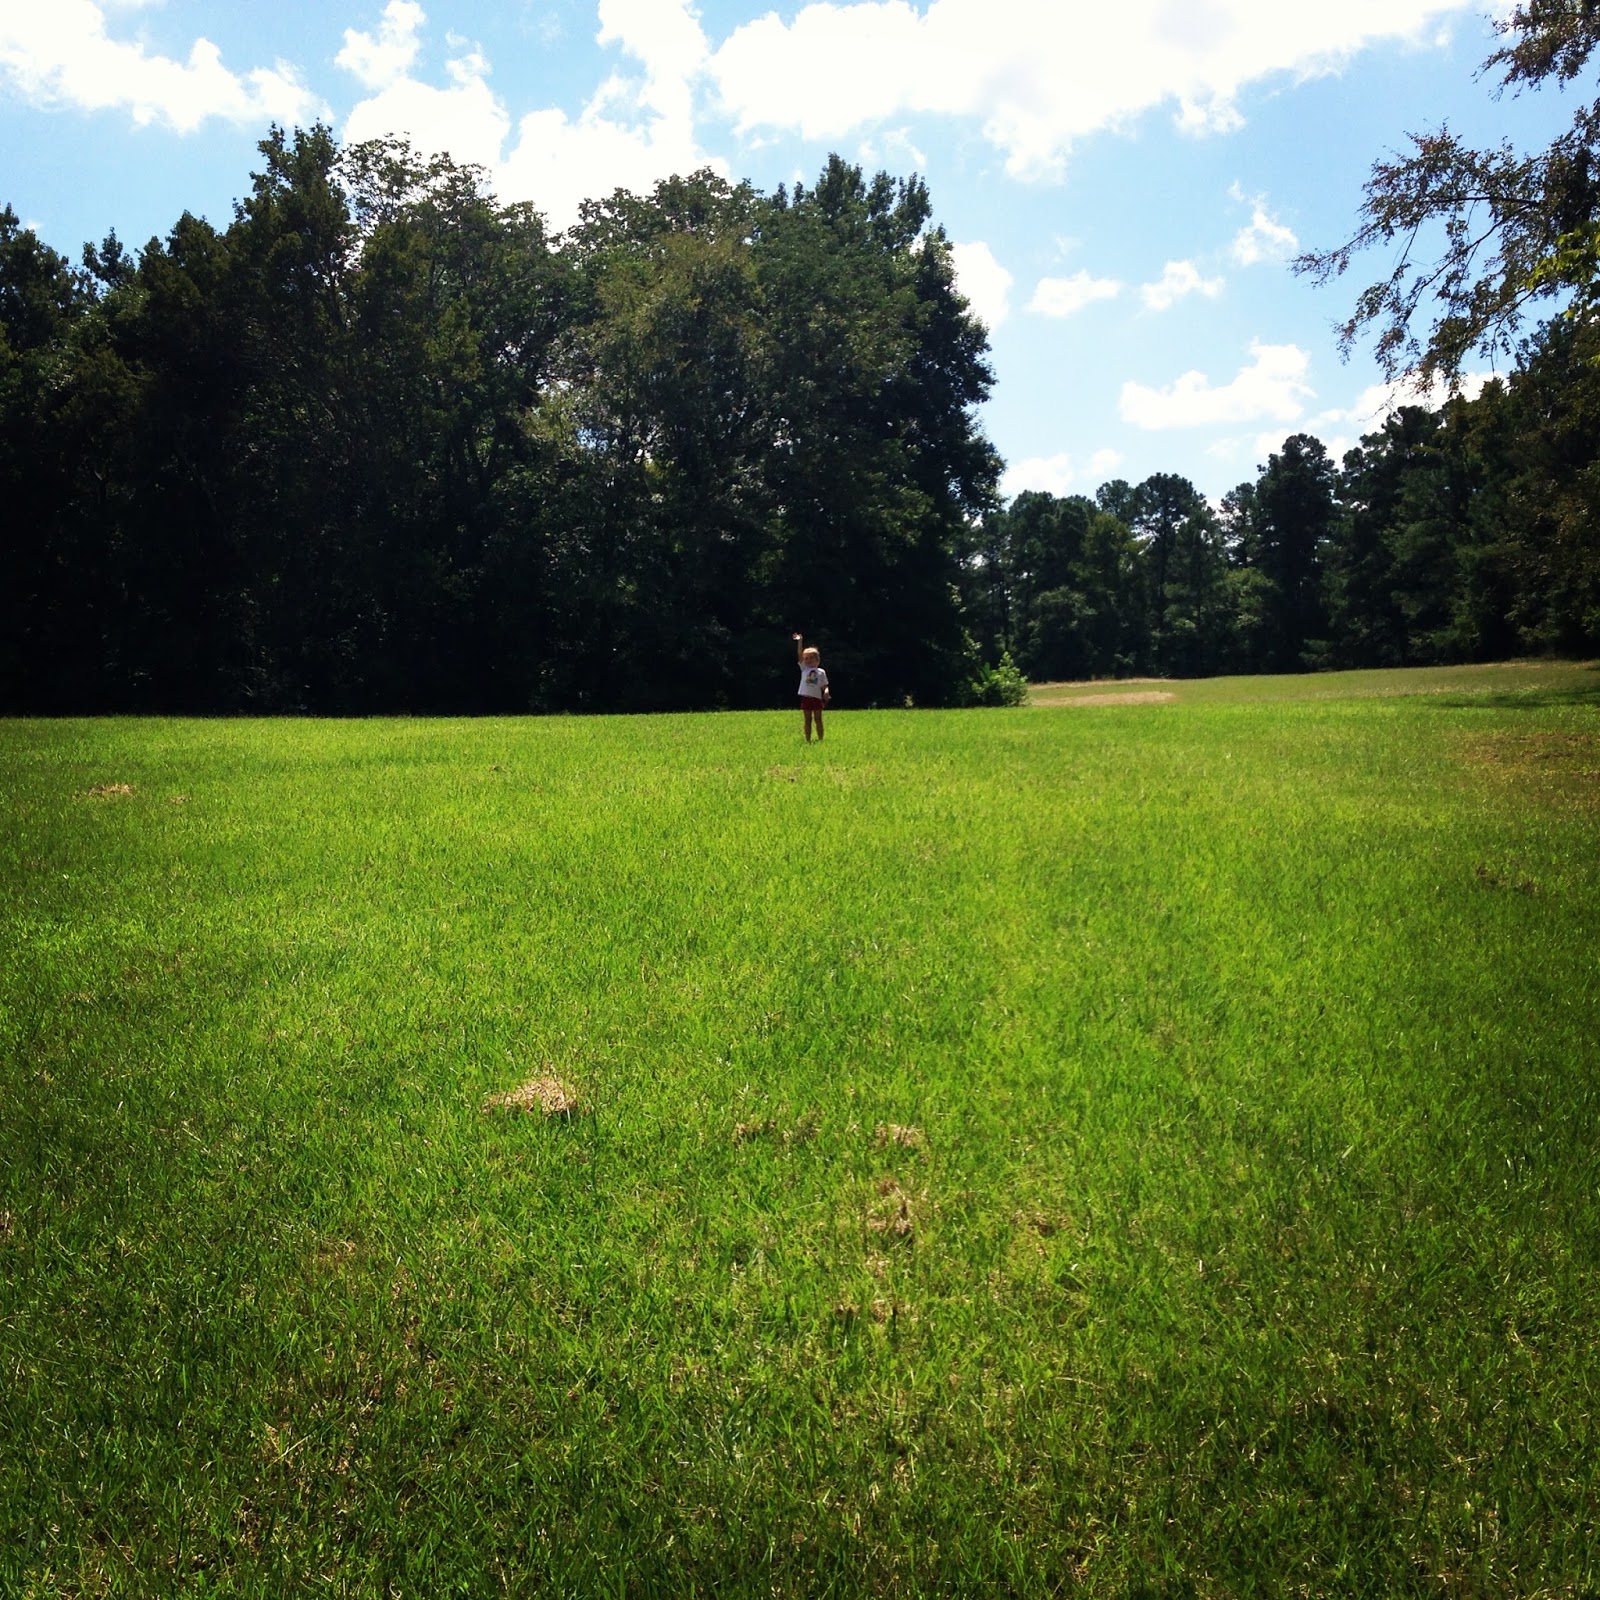
And there's Bacon out in one of the fields while we took a walk around the property.
We're so ready to move! We love it. We love the space. I can't wait to be able to just go outside and do whatever we want. When we take the kids over they hit the backdoor and are gone. You can't see the house from the road either, which I love. Anyway, there's my introduction and the current status of me and mine. I won't post here everyday I'm sure because life gets in the way, but I will definitely be posting more.

-jFree